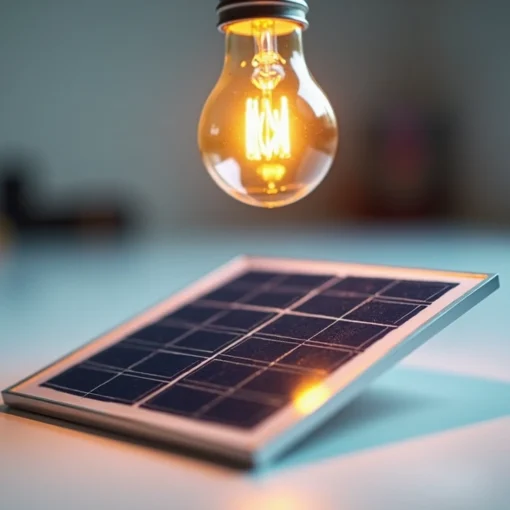
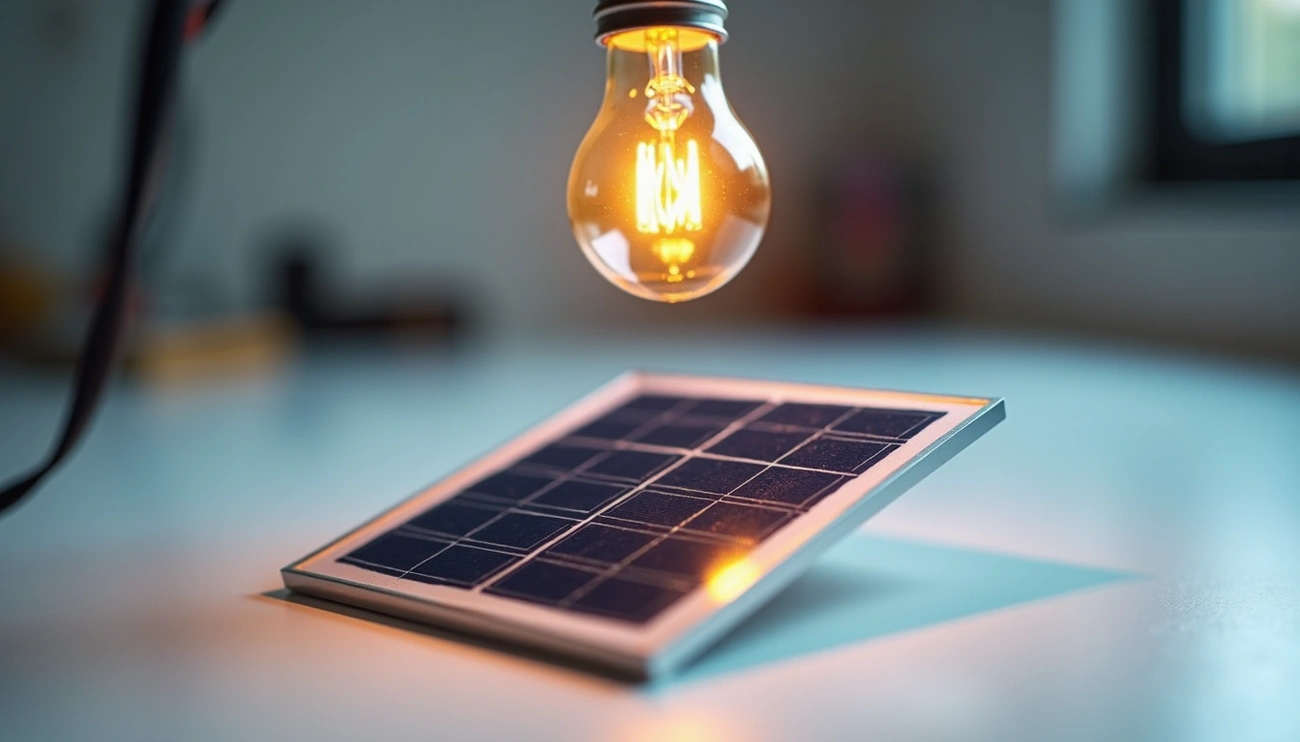
Know if your solar panel is working by checking the inverter for a solid green light and reviewing the solar monitoring app for real-time energy production. A utility meter may slow down or reverse on sunny days. Daily kWh reports, panel-level monitoring, or rising electric bills can reveal system problems.
How to Tell If Solar Panels Are Working
Your inverter serves as the first checkpoint for determining system health. Most solar inverters use colored LED lights to communicate operational status. A solid green light signals active power production, while a blue light confirms the system connects to your monitoring platform. Red lights demand immediate attention, indicating system errors that may require professional service.
SolarEdge inverters display these status combinations continuously. When you see both green and blue lights together, your system operates optimally and transmits performance data. A green light without blue means production continues but monitoring has disconnected. Tesla Solar Inverters flash green every 5 seconds during normal operation, while flashing every 1 second signals a fault condition.
Check Your Solar Inverter Status Lights
Inverter displays also show pictographic icons beyond LED lights. Sun icons with animated rays indicate active generation, while icons without rays suggest insufficient sunlight conditions. WiFi symbols confirm data transmission to monitoring platforms, and battery icons (for hybrid systems) display current charge levels. Check these indicators during peak sunlight hours for accurate readings.
Examine Your Electric Meter During Peak Hours
Bidirectional meters track electricity flow in both directions. During sunny days when panels produce excess power, you’ll notice dots moving left on the LCD display, indicating energy flowing to the grid. The meter displays three key readings: DEL (energy delivered from the grid), REC (energy sent to the grid), and NET (total consumption minus production). On bright afternoons, your meter should show minimal or reversed flow if panels function correctly.
Review Your Electricity Bills for Changes
Unexpectedly high bills often signal the first indication of system problems. If your consumption habits haven’t changed but bills increase significantly compared to previous months, your panels may have stopped producing efficiently. Compare your current bill to the same month from the previous year to account for seasonal variations.
Monitor Your Solar Production App or Dashboard
The Tesla app provides seamless monitoring of system performance and historical production data. Systems with Tesla Solar Inverters connect via Wi-Fi or Ethernet, while third-party inverters use Gateway devices for monitoring. These platforms track real-time generation, allowing you to compare output against similar weather days from previous weeks.
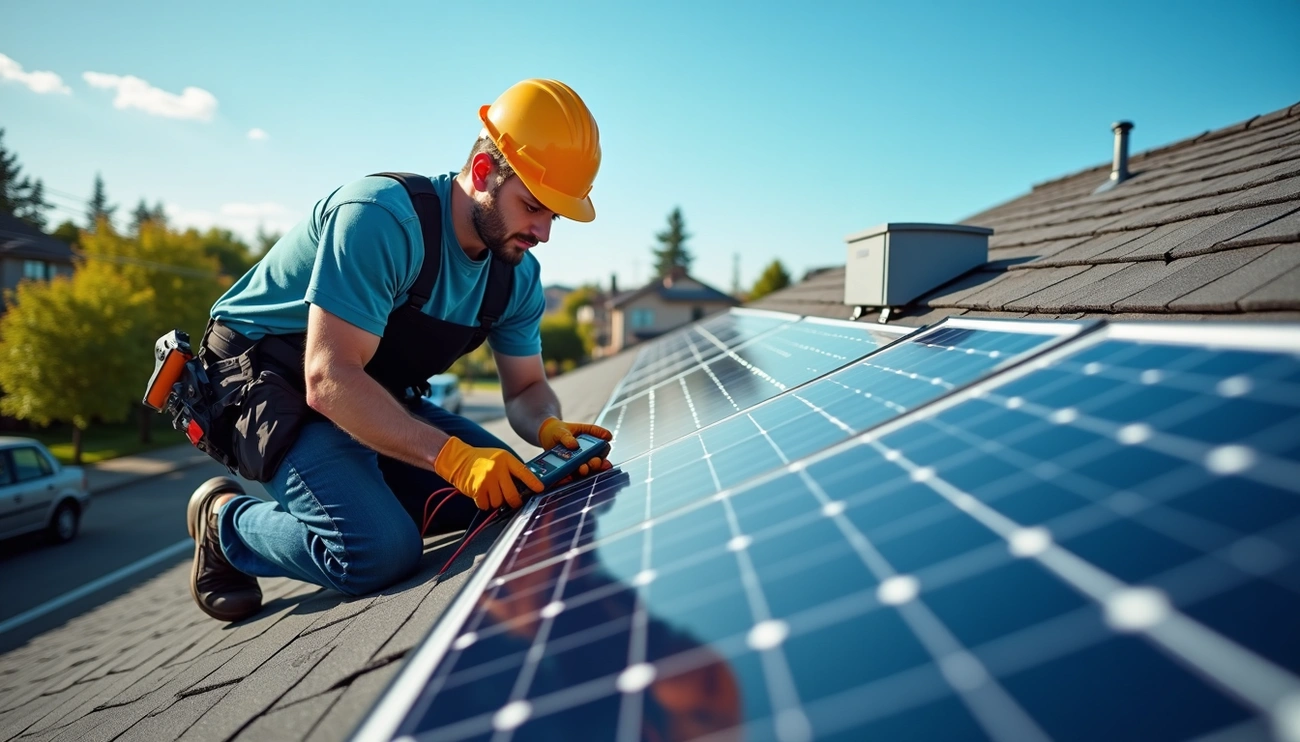
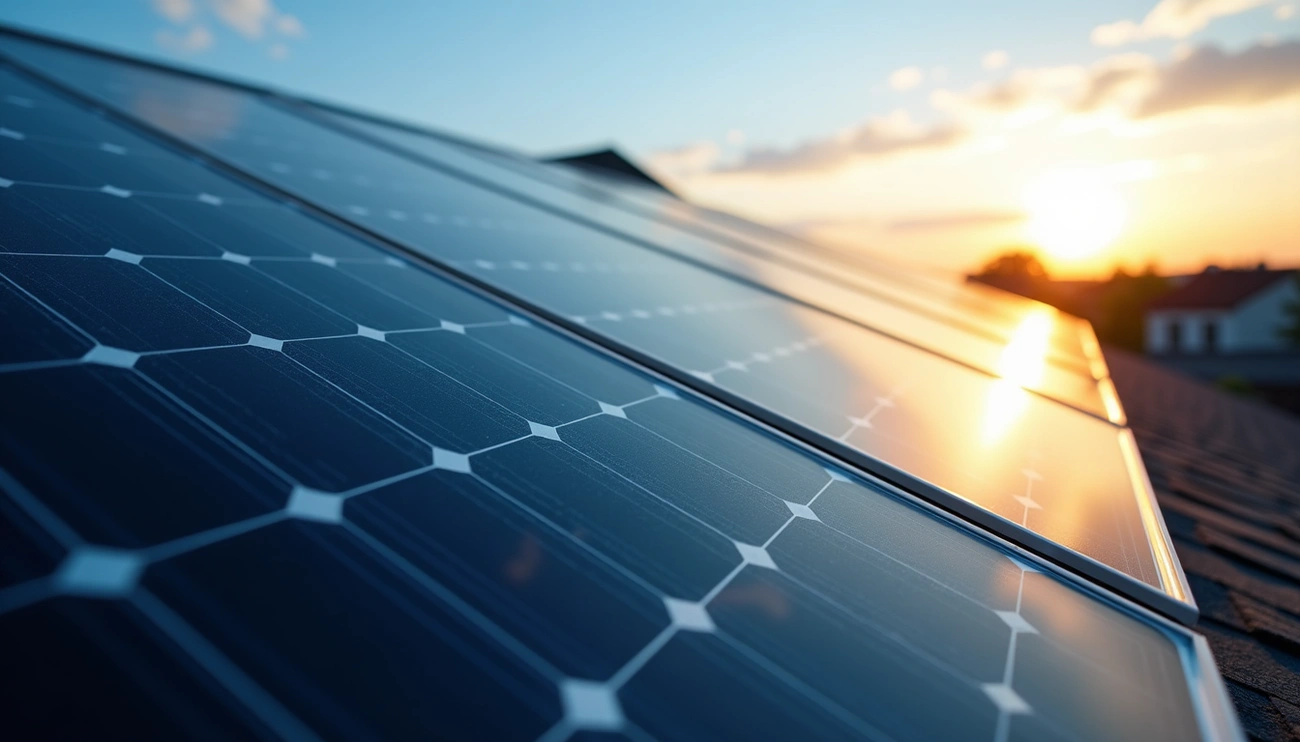
Inspect Panels for Physical Damage or Debris
Physical obstructions reduce system efficiency noticeably. Monitor performance after storms, as even minor damage can decrease output. Check for moisture signs like fogged glass or edge corrosion, and remove debris using soft brushes with water. Partial shading from accumulated dirt can significantly impact generation capacity.
How to Test Solar Panels with a Multimeter
A multimeter measures voltage, current, and resistance in electrical circuits. Testing solar panels with a multimeter provides definitive evidence of system performance beyond what monitoring apps reveal.
Measuring Voltage Output in Full Sunlight
Set your multimeter to DC voltage mode. Connect the red lead to the positive terminal and the black lead to the negative terminal of your panel. Place the panel in direct sunlight for accurate readings.
Choose a voltage range above your panel’s rated capacity. If you have a 20-volt panel, set the multimeter to read up to 200 volts. The negative probe connects to the COM port, while the positive probe attaches to the V/Ω/mA port. Match polarity carefully when touching probes to panel leads.
Your voltage reading should fall within 10% of the rated output. New panels typically read very close to their specifications, while used panels may show slightly lower values. A 23.3-volt panel reading 22.5 volts performs normally. Readings significantly below expectations indicate potential problems.
Testing Short-Circuit Current
Subsequently, switch your multimeter to DC amps mode. Move the red probe to the 10A port while keeping the black probe in COM. Set the amperage sensitivity well above your expected reading to protect the device’s fuse.
Short-circuit current testing connects the panel’s positive and negative terminals through the ammeter. This measurement reveals the maximum current your panel produces under standard conditions. The value determines appropriate fuse and circuit breaker ratings for your system.
Checking Performance Under Load Conditions
Connect your panel to a charge controller and battery or directly to a load. Measure both voltage and current during actual use. This reveals real-world performance that open-circuit testing cannot show.
Calculate total output by multiplying voltage times amperage. A panel producing 21 volts and 5 amps generates 105 watts. Load testing shows whether voltage drops significantly under demand, which indicates panel degradation.
What to Do If Your Solar Panels Aren’t Working
When performance issues arise, start with simple troubleshooting steps before seeking professional help.
Reset Your Inverter System
Turn off the AC breaker first to disconnect from the grid. Subsequently, switch off the DC disconnect to cut power from the panels. Wait 5 to 10 minutes for internal capacitors to fully discharge. This waiting period clears the inverter’s temporary memory and resolves software glitches.
Restart by turning on the DC disconnect first, then the AC breaker. The inverter takes about 60 seconds to sync with the grid before resuming production. If error codes persist after this reset, your system requires professional diagnosis.
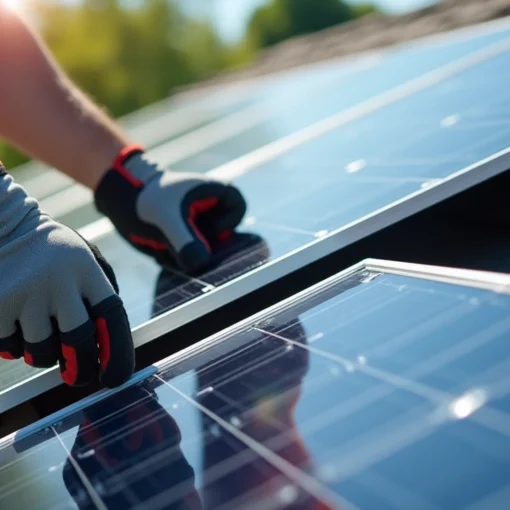
Clean Dirt and Debris from Panel Surface
Soiling can reduce energy output by 5% annually on average, with losses reaching 7% in arid regions. Clean panels early in the morning or late afternoon when they’re cooler to prevent thermal shock. Use a soft-bristled brush with mild soap and water, avoiding high-pressure washers that damage seals.
Check Circuit Breakers and Connections
Inspect the PV circuit breaker for solid electrical connections and overheating signs. Check visible wiring for corrosion, loose connections, or burn marks. Tripped breakers often indicate electrical faults that need immediate attention.
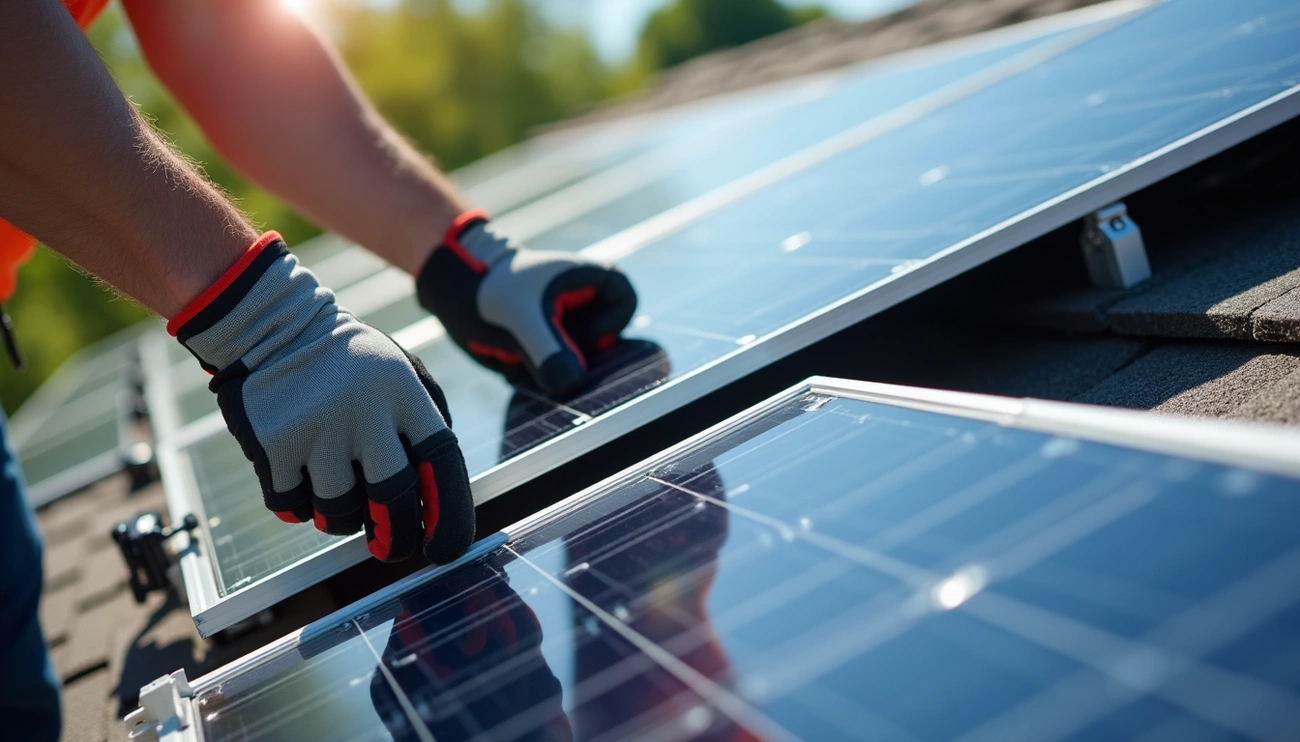
When to Call a Solar Technician
Contact professionals when you notice smoke or strong odors from system components. Similarly, call for help if your system produces consistently low power output despite troubleshooting. Burned wires, firmware errors, or inverter replacements require trained technicians. Frequent shutdowns following storms or grid events also warrant professional assessment.
Common Factors That Affect Solar Panel Output
Understanding what affects solar panel output helps you identify whether performance drops stem from system faults or external conditions.
Weather Conditions and Seasonal Changes
Summer delivers peak production due to longer days and higher sun angles. Your panels receive more direct sunlight throughout extended daylight hours. Conversely, winter brings shorter days and lower sun angles, reducing generation capacity by 40-60% in some regions. Spring shows gradual improvement as the sun climbs higher, while fall maintains relatively strong production despite decreasing daylight.
Cloud cover reduces output to 10-25% of rated capacity on overcast days. Snow accumulation blocks sunlight entirely until panels shed the cover naturally. Rain temporarily decreases generation but provides a cleaning benefit.
Shading from Trees or Buildings
Shading just one cell out of 36 can reduce total power output by as much as 75%. This dramatic effect occurs because panels connect in series, similar to old Christmas lights where one shaded section restricts current flow through the entire string. Homeowners may lose up to 40% of solar capacity due to shading issues.
Temperature Impact on Performance
Panels operate most efficiently between 15°C and 35°C. For every degree Celsius above 25°C, efficiency typically declines by 0.3% to 0.5%. Open-circuit voltage decreases approximately 0.3-0.5% per 1°C temperature increase. Systems in hotter climates show degradation rates of 0.88% annually compared to 0.48% in cooler regions.
System Aging and Component Wear
Quality panels degrade at 0.4-0.5% annually. Heavy rainfall, extreme temperatures, and UV exposure cause crystalline silicon hardening and frame corrosion. Thermal cycling from daily heating and cooling creates micro-cracks that reduce efficiency over time.
Conclusion
You now have everything you need to monitor your solar panels and catch problems early. Regularly check your inverter lights, review your monitoring dashboard, and inspect panels for damage. Similarly, test with a multimeter when performance seems off.
Most importantly, don’t wait for a high electricity bill to discover issues. Stay proactive with monthly checks, and your system will continue delivering clean energy and savings for decades to come.