
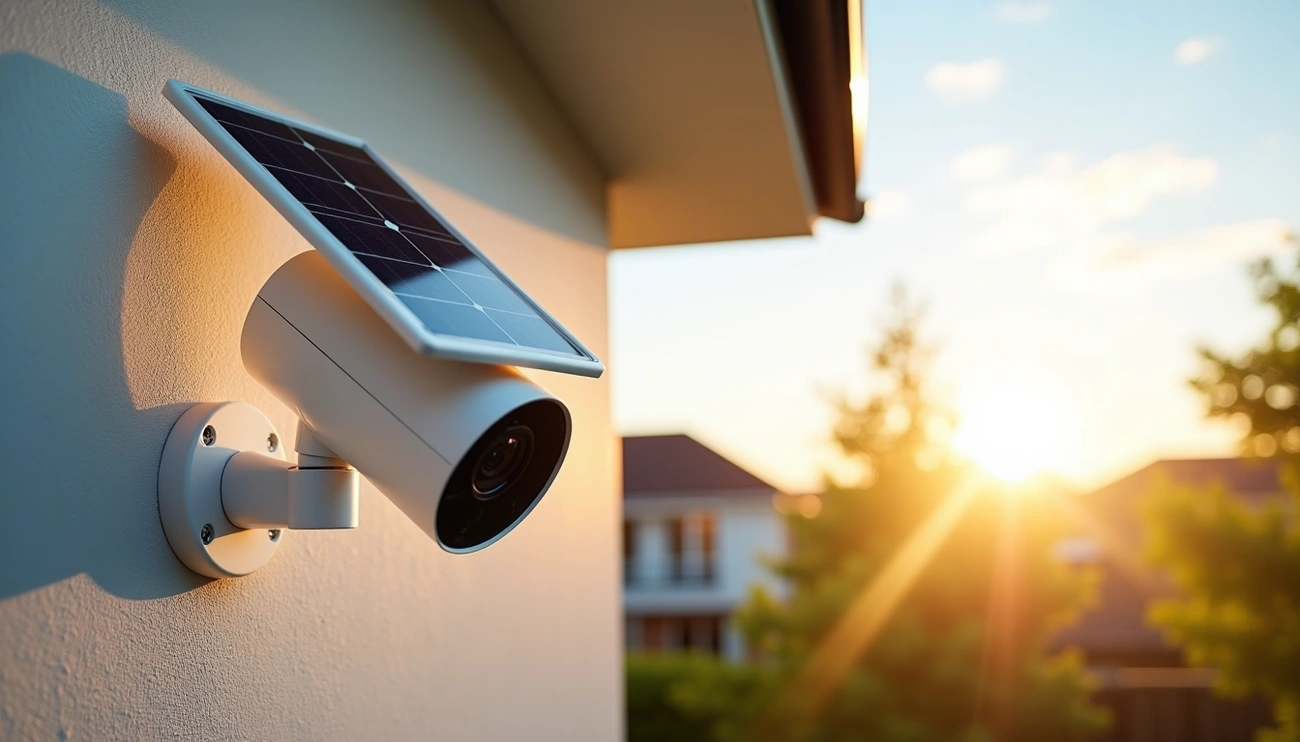
Solar-powered cameras do not require direct sunlight to operate because their solar panels generate electricity from ambient and indirect daylight. However, solar cameras charge batteries most efficiently with 2–6 hours of direct sunlight daily. Built-in rechargeable batteries store energy and power the camera during nighttime or cloudy conditions.
Do solar powered security cameras need direct sunlight?
Solar powered security cameras can operate without direct sunlight, but the charging efficiency drops significantly. Understanding this distinction helps you set realistic expectations for your camera’s performance.
Understanding the difference between direct and indirect sunlight
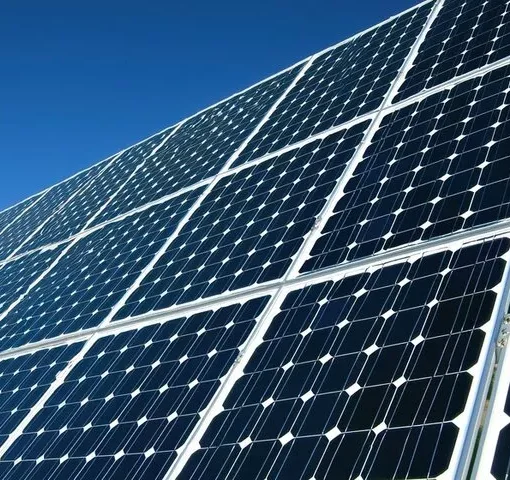
Direct sunlight occurs when the sun’s rays hit the solar panel without any obstruction, providing the most potent charging energy. This is what manufacturers mean when they specify “peak” sunlight hours. By comparison, indirect sunlight happens on overcast days or when the panel sits in a shaded area.
Your panel will still generate some power from indirect light, but the charging rate drops drastically. Heavy cloud cover can reduce a panel’s efficiency by as much as 70-90%. During these periods, your camera consumes more power than the panel generates, forcing it to rely on battery reserves.
How much sunlight solar cameras actually need
The sunlight requirements for solar powered security cameras vary based on panel efficiency and battery capacity. Most outdoor solar security cameras need about 4 to 6 hours of direct sunlight each day to keep their batteries charged and operate reliably. However, the range spans from 2 to 8 hours depending on your specific model.
High-efficiency cameras can work with considerably less. Some advanced models need just 2 to 3 hours of direct, effective sunlight per day to maintain charge for routine operation. The Wyze Solar Cam Pan, equipped with a high-efficiency ETFE solar panel, needs only about 1 hour of direct sunlight per day for continuous power.
Why direct sunlight matters for optimal performance
Direct sunlight remains the key factor because solar panels convert unobstructed rays into electrical energy most efficiently. On a clear sunny day with 6+ hours of sun, your camera achieves ideal charging conditions. Partly cloudy conditions with 4-6 hours provide medium effectiveness, while overcast days with 2-4 hours result in slow charging where your battery may deplete.
Accordingly, starting with a fully charged battery and ensuring high capacity becomes necessary. A few consecutive sunny days build the buffer needed to withstand stretches of bad weather.
Key factors that determine sunlight requirements
Several technical specifications determine whether do solar powered cameras need direct sunlight or can function with less. These factors work together to create your camera’s total energy equation.
Solar panel efficiency and wattage
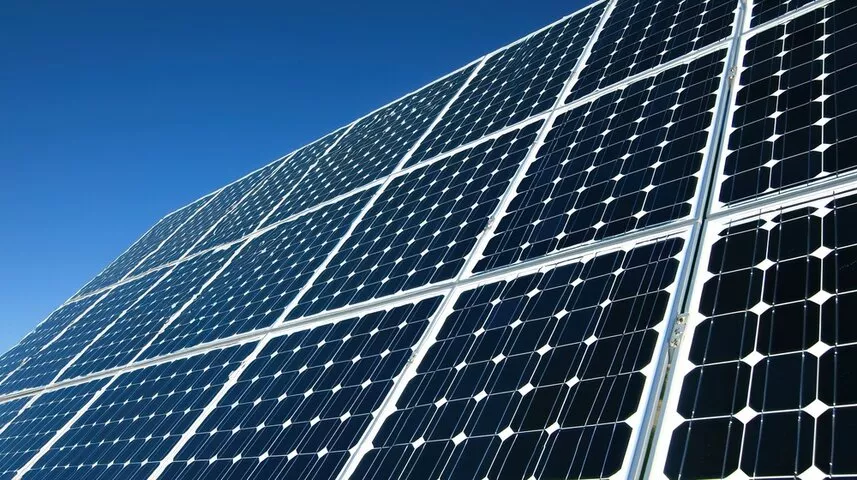
Panel output directly affects charging speed. Most camera solar panels generate between 3 to 8 watts of power. High-efficiency monocrystalline panels convert up to 22% of available sunlight into usable electricity, while lower-grade polycrystalline options convert considerably less. This efficiency gap means two cameras receiving identical sunlight can charge at vastly different rates based on panel quality alone.
Battery capacity and storage
Battery size dictates how long your camera operates without sun exposure. Most outdoor solar security cameras use lithium-ion batteries ranging from 4,000mAh to 13,000mAh capacity. A fully charged battery powers the camera for 2 to 7 days without any sunlight. Larger batteries provide extended backup during cloudy periods, but they also require more charging time to reach full capacity.
Camera power consumption
Your camera’s energy appetite determines daily recharging needs. Most outdoor solar security cameras consume between 2 to 5 watts during operation. Features like high-definition video, continuous recording, motion tracking, and night vision substantially increase power usage. A camera with all these features activated will drain batteries faster and need more sunlight hours compared to a basic motion-activated model.
Geographic location and seasonal changes
Where you live significantly impacts available charging time. Cameras positioned at higher latitudes receive markedly less sunlight during winter months. Weather conditions create additional challenges. Clouds, rain, and snow can reduce solar panel output by up to 90%. These geographic and environmental factors explain why do solar powered security cameras need direct sunlight recommendations vary by region and season.
How to set up your solar camera for optimal sunlight exposure
Proper placement transforms how well your solar camera charges. I’ll show you the specific setup steps that maximize sunlight capture and keep your camera operating reliably.
Choosing the best location for your solar panel
Select a spot that receives full, direct sunlight for most of the day. Avoid areas shaded for significant portions of daylight hours. Initially, test your camera in an accessible location for a few days before permanent installation. This reveals actual charging performance and helps identify optimal positioning.
Consider future environmental changes when selecting your site. That small tree in your neighbor’s yard might grow tall enough to cast shadows over your panel’s 25+ year lifespan. Buildings that may be constructed nearby also need consideration before finalizing your location.
Setting the correct panel angle and orientation
Mount your solar panel facing true south in the northern hemisphere or true north in the southern hemisphere. The optimal tilt angle ranges between 30 to 45 degrees. This range captures ample sunlight across various locations and seasons.
For best results, set your panel tilt angle equal to your location’s latitude. If you live at 40 degrees latitude, tilt your panel to approximately 40 degrees. A 30-degree tilt works well for most installations and allows debris like leaves to slide off naturally.
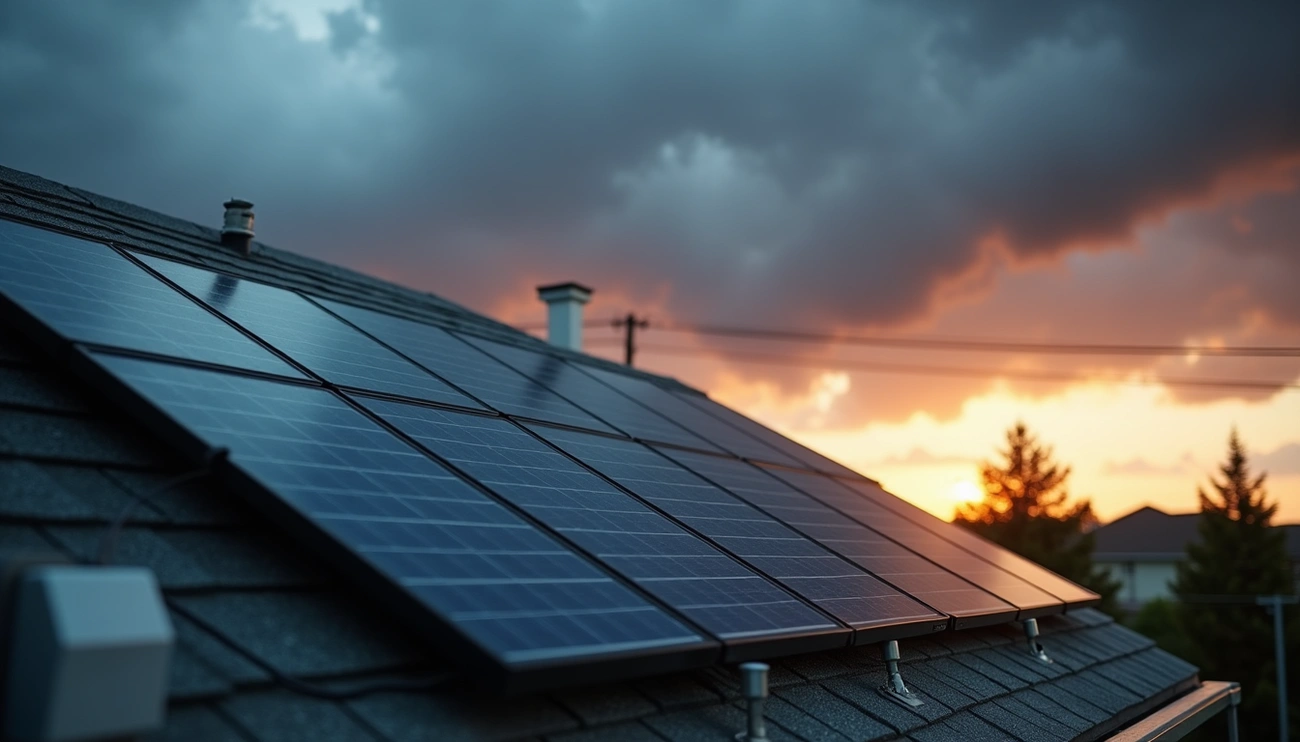
Avoiding shade and obstructions
Your solar panel should not be shaded at any time. Even partial shade on a single panel drastically reduces output for your entire system. Plan your layout to ensure panels don’t block each other.
Maintain at least 5 feet of spacing between your camera and solar panel when they face the same direction to prevent shadow obstruction. Avoid installing under eaves, tree branches, or anywhere with limited sun exposure, as this affects charging efficiency.
Proper mounting techniques for maximum sun exposure
Choose stable mounting brackets that won’t shake or deform during wind and rain. Firmly secure panels using reliable fixation methods like bolts or clamps. Position your camera above your solar panels.
Wipe the panel every few months to remove dust or debris that might reduce energy-harvesting efficiency[101]. Don’t use abrasive materials during cleaning.
What to do when direct sunlight is limited
Limited sun exposure doesn’t mean your camera stops working, but you need to recognize the warning signs and implement solutions.
Signs your camera isn’t getting enough sunlight
Watch for these indicators that reveal insufficient charging. Your camera shutting off or missing footage represents the most obvious problem. Consistently low battery levels that never reach full charge after sunny days signal inadequate power generation. Unreliable notifications and choppy live view feeds also indicate the system struggles from low power.
Using indirect sunlight and cloudy day charging
Solar panels still charge on overcast days at about 10-25% of normal efficiency. A fully charged battery typically provides 5 to 7 days of operation without any sunlight. Cloud cover reduces output by 70-90%, forcing your camera to draw from battery reserves.
Backup power solutions for low-light areas
Plug your camera into a standard wall outlet using its AC adapter for direct charging. Battery backup systems engineered for three days of autonomy offer alternatives to solar power. Relocating your panel to capture better sun exposure often solves persistent charging issues.
Adding supplemental solar panels
Adding a second compatible solar panel significantly boosts energy collection for high-usage cameras or challenging environments.
Adjusting camera settings to conserve power
Enable power-saving mode in your camera’s app to reduce consumption. Lower motion detection sensitivity prevents unnecessary recordings. Reducing video quality from 2K to 1080p and shortening clip length extends battery life considerably.
Conclusion
Solar powered cameras don’t require direct sunlight to function, but they perform best with it. As a matter of fact, most models need 4 to 6 hours of direct sun daily for optimal operation. When direct sunlight is limited, you can still succeed by choosing high-efficiency panels, adjusting camera settings, or adding supplemental power solutions. I’ve shown you how to evaluate your specific situation and optimize placement for reliable security coverage, whether you have abundant sunshine or challenging conditions.